5 Lessons Learned: Using Cameras to Capture School Bus Stop-arm Violations
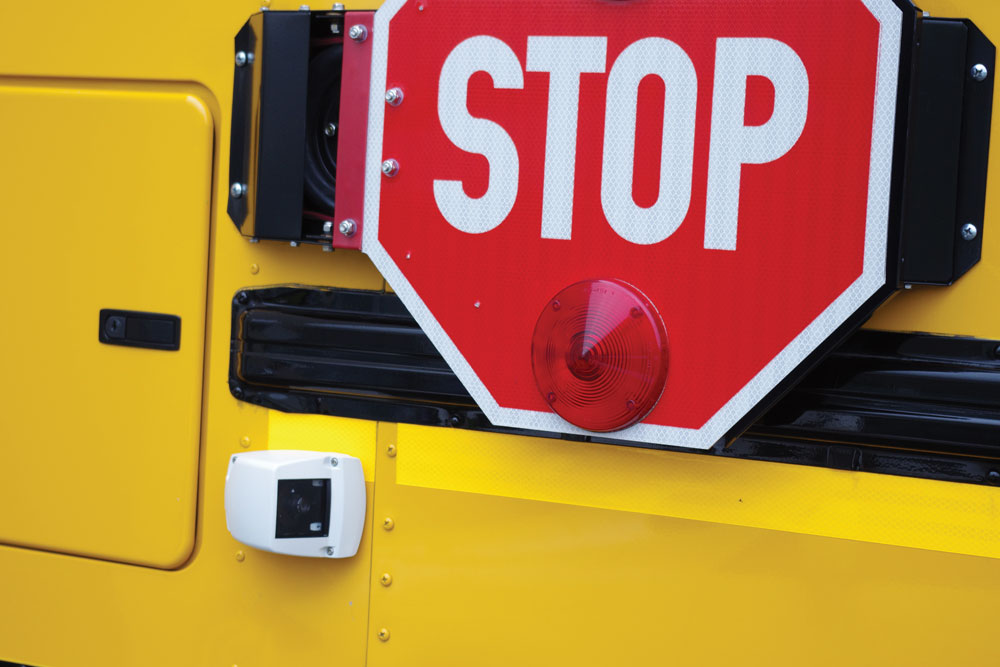
Over 24 states have now introduced or have pending laws authorizing the use of video cameras on the outside of school buses to identify stop-arm violators. But rolling out a stop-arm camera program can be tricky and time-consuming. So we thought we’d share five lessons we’ve learned from working with school districts over the past five years to test and perfect the technology to help them take advantage of these new laws.
Lesson #1 – Choose the Right Technology Partner
Before you choose a vendor to work with, ask them three important questions:
1) How many systems have you deployed?
2) What is your track record in this or nearby states?
3) What support will you provide during and after implementation (training & best practices)?
Ensure that your stop-arm camera supplier has a number of implementations under their belt, a track record of reliability, and ask for proof. Be certain that the cameras used on the outside of buses are carefully designed by mobile video engineers to withstand the rigors of the road and any type of weather conditions (heat, humidity, snow, ice).
If the vendor has worked with others in the state they will better understand both the legal requirements and environmental factors in your area that could prevent clear stop-arm violation event capture.
Finally, make sure that your vendor will provide support after the camera purchase to ensure proper installation and testing programs.
Lesson #2 – Automation is Key
Every successful stop-arm camera deployment should involve as much automation as possible to save time, money, and ensure student safety.
Drivers need to stay focused on loading and unloading students, so your stop-arm camera solution should be automatically triggered by a sensor that detects when a vehicle illegally passes the bus and marks that video recording with an alarm.
When that bus returns to the yard, the system should automatically download the video footage tagged as a stop-arm violation and any necessary vehicle telemetry information such as speed, direction, and GPS co-ordinates. This will avoid the manual labor involved in identifying potential violations, and manually removing hard drives from the bus.
Lastly, look for a solution that gives you a web-based dashboard of any alarms or video system health status to ensure that your cameras are always operational. You never want to explain to a parent why the footage of their child’s near miss wasn’t captured.
Lesson #3 – Test and Verify Image Clarity
Rigorously test and verify that you can capture key vehicle details and license plate numbers from both directions, across multiple lanes, and in all weather and lighting conditions.
Every bus model is different and each state’s evidence laws are different. Spend time testing different camera mounts, positioning, and varying camera lenses to ensure you get it right.
Lesson #4 – Make Sure it Meets Legal Requirements
Understand the stop-arm camera legislation in your state and what constitutes legal evidence of a violation. In some states the law actually requires not only a picture of the vehicle license plate, but also the driver.
Involve all relevant law enforcement agencies before you embark on a deployment, and then share your test footage with each of them to ensure that you are producing evidence packages that meet their needs. Nothing derails a stop-arm camera project more often than violations that go unprosecuted.
Lesson #5 – Plan a Public Awareness Campaign
Once you’re ready to start capturing live violations, make sure the public has plenty of warning that you plan to work with law enforcement to prosecute violators. A press release to the local media can be helpful in generating awareness for your program, and reminding motorists that passing a stopped school bus with its lights flashing is against the law.
Thinking about starting your own stop-arm camera program?


